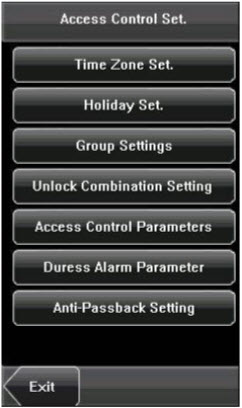
6.7.4 Unlock Combination Setting
Make various groups into different access controls to achieve multiverification and improve security. An access control can be made up of 5 groups at most.
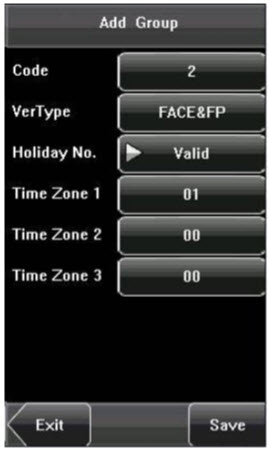
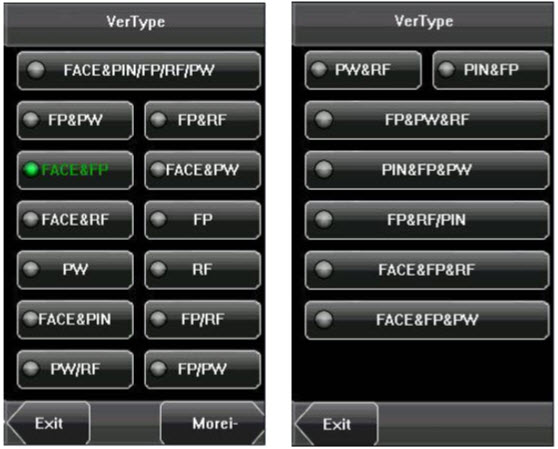
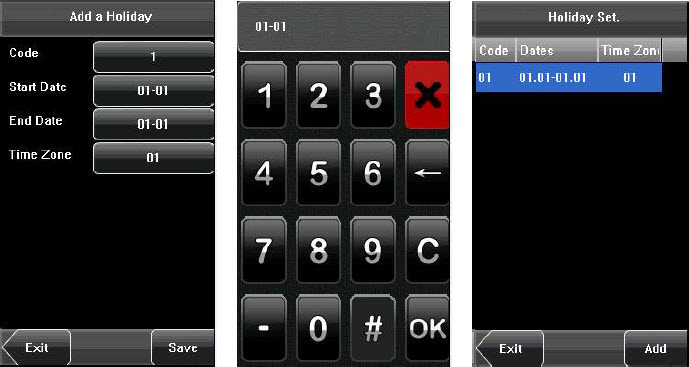
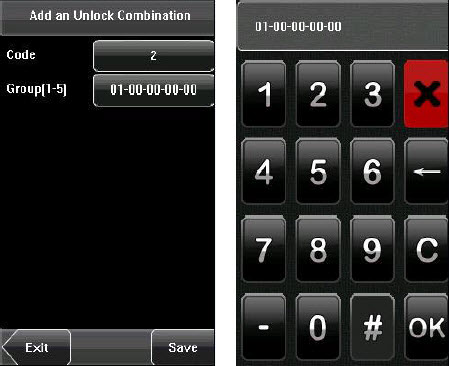
1. Add Unlock Combination
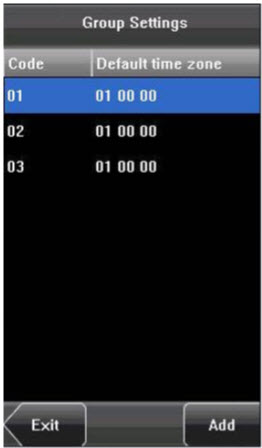
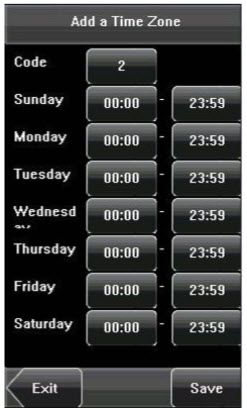
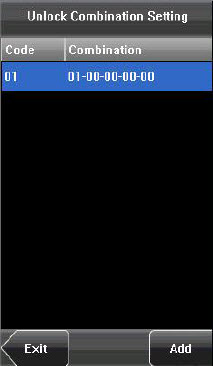 (1) Enter holiday add Combination Setting interface, press the key to edit the items.
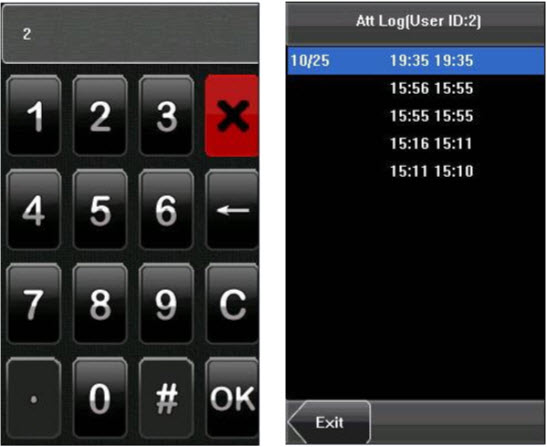
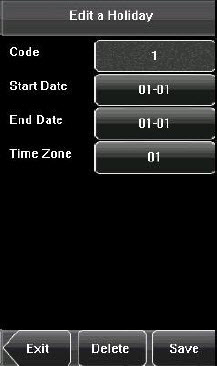
(2) Press the touch screen number key to set the value, after setting, press [OK] to save, and press [X] for exit and return to the previous interface.
(3) Press [Save] to save the current information and return to the previous interface; press [Exit] directly to return to the previous interface without saving the current information.
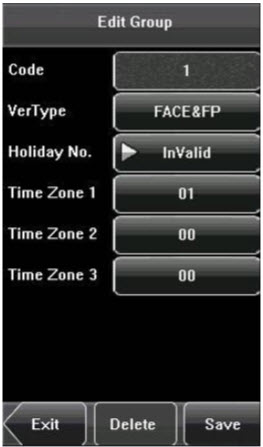
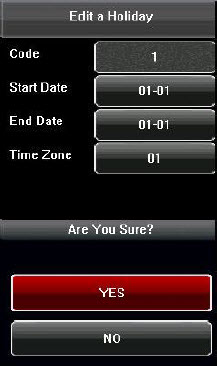
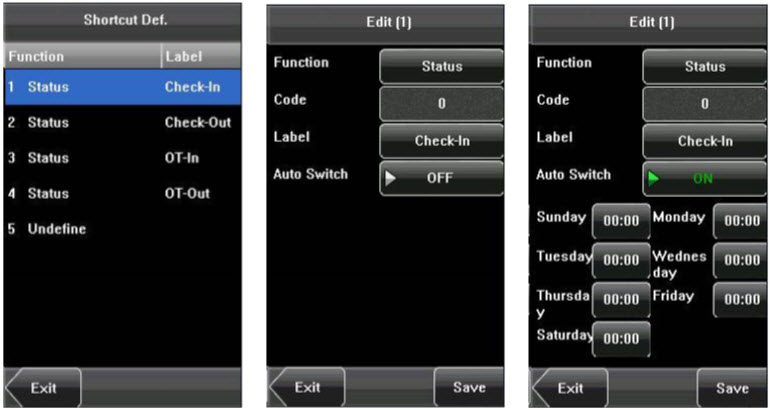
 2. Edit Unlock Combination
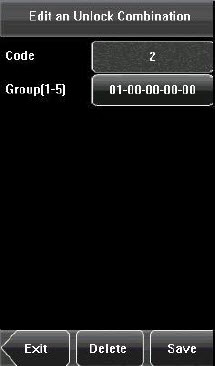 Select the line to be edited. Press the item directly to enter the edit interface. After editing, press [Save] to save the current information and return to the previous interface; press [Exit] directly to return to the previous interface without saving the current information.
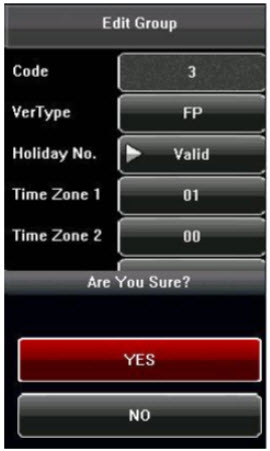
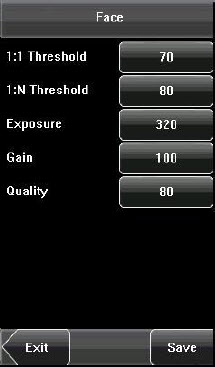
3. Delete Unlock Combination
 Select the line to be deleted. Press [Delete] to popup the confirm interface as follows. Select [Yes] to delete this holiday, otherwise select [No] to cancel the operation
| ย้อนกลับ | กลับสู่เมนูหลัก | ถัดไป |